Generatively Scrambling Sylvia Plath's Poetry With An Arduino ESP-32
For my first project with my ESP32, I wanted to combine my dual loves of poetry and programming. To do this, I wrote a simple program that prints the text of Sylvia Plath’s “Mad Girl’s Love Song” once correctly, and once scrambled. If you’re new to the world of embedded systems and looking for a fun and creative way to start, this simple Arduino project is a great way to dip your toes in and learn the basics.
View this project on my GitHub
MY PROJECT
Being a computer science student, my peers are often surprised by how much time I spend in the English department. In fact, this year, I’ve taken more creative writing classes than computer science ones. I don’t see a lot of overlap of my classmates in those departments, which I’m sure won’t come as much of a surprise to many, but to me, these subjects aren’t as different as they seem.
Poetry and programming are both fundamentally creative and generative pursuits, disciplines that allow me to create rather than consume. In the Age of Information, we have access to a huge base of knowledge in the very palm of our hands– and yet that often leads us to spend hours and hours a day devouring content online without making time for our own creativity. Writing and coding have both been ways for me to get out of that loop and to create more than I consume.
For my first project with my ESP32, I wanted to combine my dual loves of poetry and programming. To do this, I wrote a simple program that prints the text of Sylvia Plath’s “Mad Girl’s Love Song”– but there’s a twist. The device first prints the text in its correct order, and then prints a scrambled version of the poem. This jumbling of Plath’s carefully curated words symbolizes her descent into madness through her life and through this poem, ultimately leading to her tragic death. By using the random number generator in <cstdlib>, the device creates a unique randomization of the lines each time it runs.
If you’re new to the world of embedded systems and looking for a fun and creative way to start, this simple Arduino project is a great way to dip your toes in and learn the basics. Learn how to try this project out for yourself below!
MATERIALS
- Arduino ESP-32 TTGO T-display like this one
- USB-C cord (make sure that your cord support data transfer, not just power!) see more about this here
- Arduino IDE download here
STEPS
1. Turning ESP-32 on
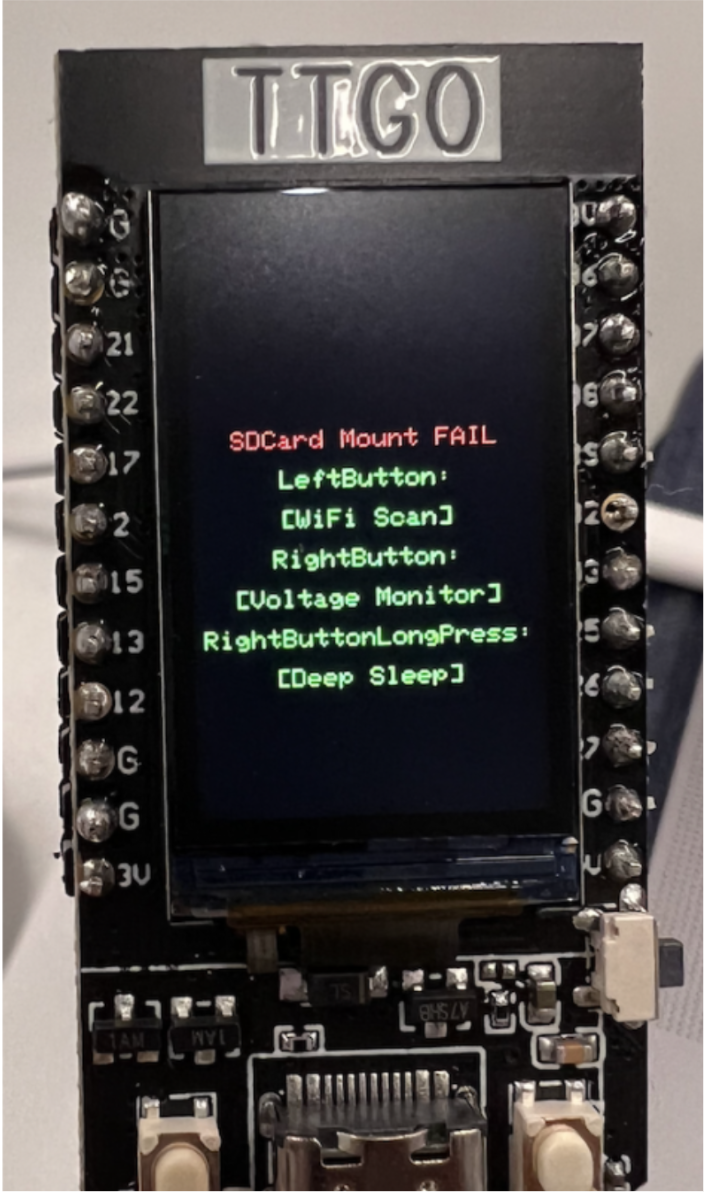
The easiest way to power an ESP-32 is with the USB-C cable. To check that everything was working properly, I plugged one end of USB-C cable into my laptop and the other into my ESP-32. When the device was properly connected, a blue light on the device should flash, and the screen should power on and show the system settings.
If your device doesn’t seem to be working, you might try flipping your USB-C cable over and reinserting it.
Later, you can also power your device using a 5V lithium battery. I opted not to use a battery for this project because the batteries we received in my class malfunctioned, but you may also decide to power your ESP-32 by connecting a 5V battery to your device. You can do this by soldering the battery to the Ground and 5V pins on your device, or by attaching GPIO pins to the ESP-32 and inserting the battery into those pins.
2. Flashing code to ESP-32
To flash code onto my ESP-32, I downloaded the Arduino IDE, available here.
If you’re using a Mac and running Big Sur or above, you may need to download this driver.
I opened the IDE and selected in the dropdown menu the port where my ESP-32 was connected.

My goal here was to flash example code to ensure that my device was working properly. To do that, I used the default example codes installed into the IDE. To access those, I looked through the menu to find File → Examples → TFT_eSPI → 160 x 128. I used Pong_v3.

To flash this code to my device, I pushed the right-facing arrow in the upper left corner.
When the code had successfully compiled and written to the ESP-32, my device displayed the Pong game. Once the code has been flashed onto the ESP-32, it will not need to be plugged into your computer to run– whenever your ESP-32 is plugged into power, it will run that code.
3. My code
Arduinos use a programming language based on C++, which means that C++ code will run in this IDE.
For my project, I wrote a program that displayed the text of Sylvia Plath’s poem “Mad Girl’s Love Song” once correctly, and then once jumbled, representing Plath’s descent into madness over the course of her life.
My code uses a random number generator to jumble the lines of the poem, meaning that the scrambling of the poem is slightly different each time. I’ll spare you the gory details, but you can see the intricacies of how my code works on my GitHub here.
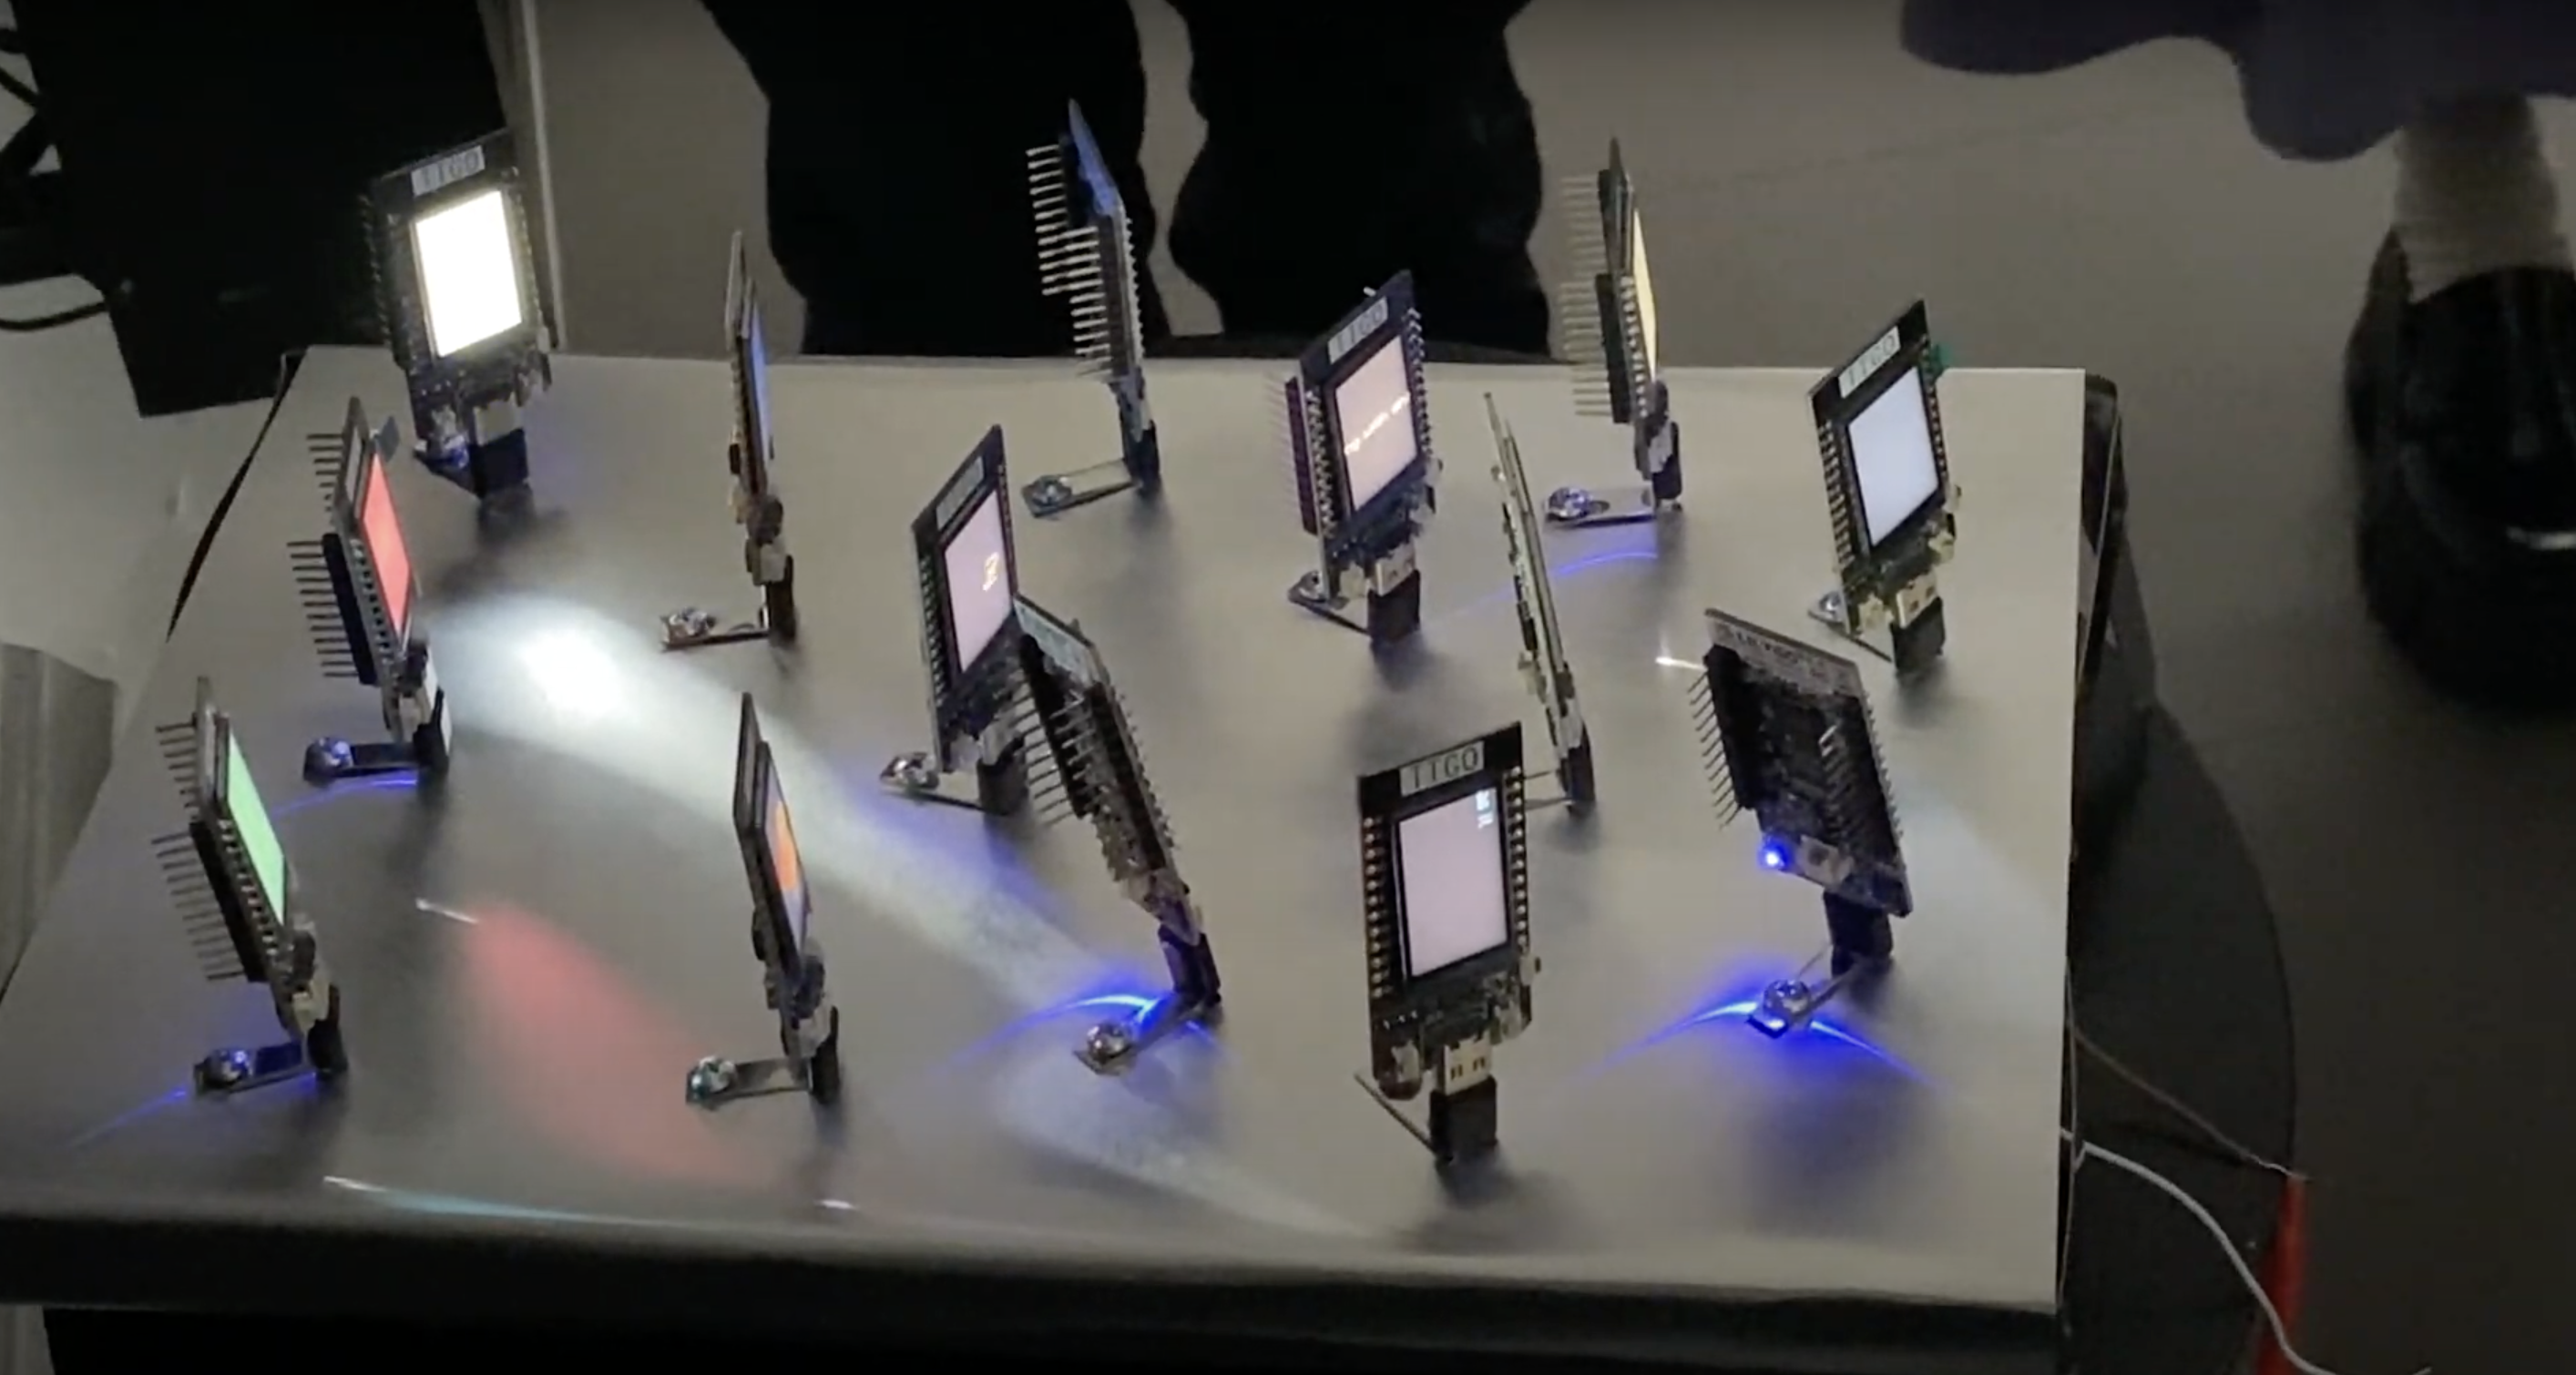
4. Exhibition
I exhibited this project in my Creative Embedded Systems class with Prof. Mark Santolucito at Barnard College. We each plugged the USB-C port of our ESP-32s into a large board and watched them all play out.

Below is a video of my code running the full text of the poem, and then one version of it scrambling the poem. Enjoy!
CREDITS
This project was completed for Module 1 of Mark Santolucito’s Creative Embedded Systems course at Barnard College. See more about the assignment and his work on his website here!